Renovation
DIY Tips: How Paint A Room

Are you thinking about painting a room, or rooms, in your house yourself? Well, before you get started, check out the tips below, as they could help make your project go more smoothly and help you achieve the best results, irrespective of your experience.
First Off, You Might Want to Hire a Professional
It is important to note upfront that painting a room can be arduous and time-consuming. If you have done it before, you already know the preparation required before you even get to use your paintbrush! So should you do the D.I.Y or get a professional to do it? When you factor in the cost of all of the supplies and paint needed plus the cost of your time, it is often more economical to just hire a pro. The hardest part of choosing which option works is knowing exactly how to calculate the costs so to assist you can check out Porch’s paint calculator to figure out what works for you.
The Painting Tools and Product Required
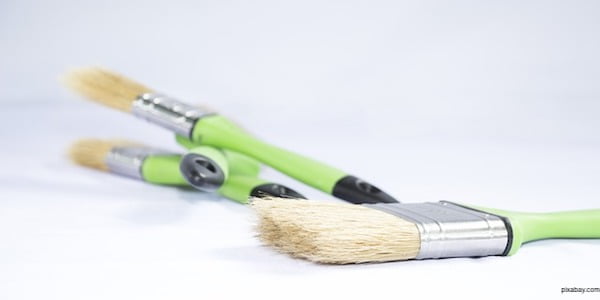
To get a professional looking result, it pays to make sure you’ve got what you need before you start. The tools and supplies required include: some towels or rags, sponges, a floor duster, paintbrushes, rollers, an extension pole, a 5-gallon bucket, paint trays, paint grids, a latex paint respirator, safety glasses, and a ladder. You will also need some spackling compound or as known as putty 220-grit sandpaper, painter’s tape, drop cloth, primer, and paint. Remember to get your testing paint pots, use and select the colour before you commit to litres of it and end up having to redo it sooner than desired.
Prep The Room
Okay it’s time to get your hands dirty and the first step is to prep the room before putting paint on it. First, check for any holes, dents, cracks, and various imperfections on the walls. With your spackling compound and a putty knife, you could fill in those imperfections wait for it to dry and then use your sandpaper to create a smooth finish. Next, wipe the walls using a damp sponge or a damp towel. After the walls are dry, use your floor duster to remove dust from the walls. Then remove anything that is on the walls, such as electrical faceplates.
Use painter’s tape along all of the edges of the walls that you don’t want to get paint on. For example, if the room has windows, put the painter’s tape around them, and apply the tape to the ceiling and the floor (or skirting board) so that you can paint the walls without the paint getting on these surfaces. Then put your drop cloth on the floor and cover or remove all of the furniture from the room. Ideally you want an empty room.
Paint the Room
Finally, apply a coat of primer, followed by your paint. Now it’s important to use primer and undercoat and to choose the right type of both. What you’d use in a ‘wet area’ is different to what you use in a dry area. The longevity of your paint job will depend on they type of product used for the conditions of the room. Once you’ve applied the recommended number of coats of paint and it’s dried remove the painter’s tape and enjoy the results!
Hopefully the tips above will help you paint any room in your house just like a professional would.


